Key: HCX-PKK-ERW
About this Custom Cook
How to Make Ghee in Your Brava:
So easy to do and only takes a few minutes of actual hands on time! ONLY WITH BRAVA!
Basically, you put the butter in the pan, do the cook, then strain it. Nothing is easier! Or faster! Or tastier!
Ghee is clarified butter that has been cooked a bit longer to remove ALL the moisture. Additionally the milk solids are browned in the clarified butter (as a result of the Maillard Reaction and caramelization) and then removed using a strainer. This gives the ghee a slight tan color, an extremely nice rich buttery flavor and a very slight butterscotch aroma/flavor. The butterscotch flavor is not imparted to the foods cooked with it, they just taste super buttery.
Ghee has a long shelf life and can be stored at room temperature for 6 months to a year in a sealed container provided the milk solids are removed.
You will need either Brava’s Square Pan or Brava’s Loaf Pan to make ghee with your Brav.
>>>>>>>>>>>>
DO NOT attempt this recipe with any third party
cookware of ANY kind, especially glass like Pyrex.
<<<<<<<<<<<
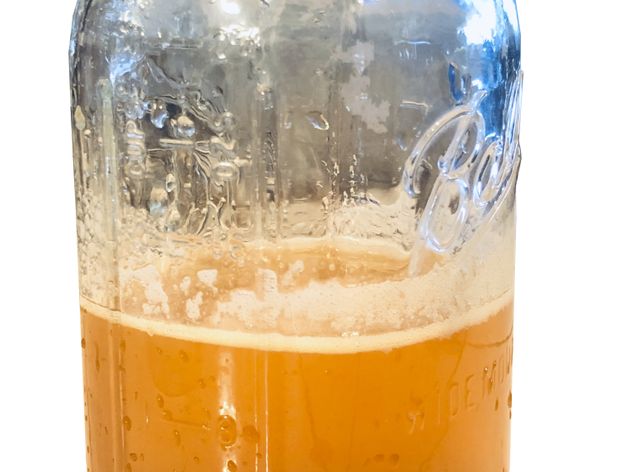
You will also need a fine mesh strainer (stainless steel is preferred, but plastic is OK since you only use the strainer once the ghee has cooled) and a glass jar that has a lid to store it in – mason jars are perfect. Please see the photos.
I only use premium Kerrygold grass fed butter from Ireland. It truly is a better butter. And healthier too! It is not that much more expensive than regular butter and in my opinion worth it. I highly recommend it! This cook works perfectly with it. Regular butter should work as well but I have not tested the cook with other butters.
1. Place 24 ounces of butter in the loaf pan You do not need to cut them up into small pieces.
2. Place the pan in your Brava, top level only obviously.
3. Start the cook.
Cook time is just over 1 hour. It is designed to take this amount of time intentionally. This improves the quality of the ghee. Once complete, let the ghee cool for at least one hour in the Brava. Two hours or more is preferred. The ghee will be extremely hot immediately after the cook is complete and should not be handled at all until it cools. I ALWAYS wait at least one hour. Just leave the Brava door closed after the cook is complete. Again, DO NOT remove the hot pan for AT LEAST one hour.
If you want, you can start this in the evening and then remove it from your Brava in the Morning. IF the ghee solidifies a bit by the morning, simply use Brava's KEEP WARM for about 15 minutes or so (until the ghee become liquid again.
Once cool, you are ready to strain it to remove the milk solids which for the most part will be clumped together at the bottom of the pan. They will be a dark brown color. This Is normal. Some lighter color solids may still be floating at the top. This is normal too. All the milk solids will be removed by using the strainer (see the following paragraph).
Place the strainer over the glass jar. Slowly pour the ghee through the strainer into the jar. Most of the solids will stay at the bottom of the pan. The strainer will catch any loose solids. I usually do not strain the last little bit of ghee mixed in with the solids at the bottom.
Once completely strained, just put the lid on the jar. Ghee does not need to be refrigerated and can last for 6 months to a year. It is ready to use. Use it just like you would butter or any oil.
Easy Cleanup:
The solids at the bottom of the pan will easily come off thanks to the high quality non-stick surface of the Brava pans. I typically soak the pan with dish soap for a few hours or more and then finish cleaning it. But you can easily clean it easily without this step if you want. Just give it a quick rinse with warm soapy water (I use Dawn) and then you can put it in your dishwasher or hand wash if you prefer.
I rinse the strainer with hot water and then put it in the dishwasher as well.

